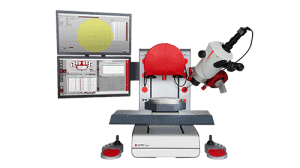
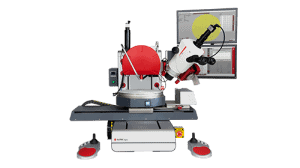
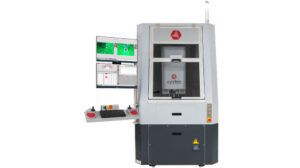
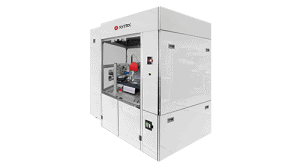
Handlers
Robotic handling ensures safe load and unload of applications and avoids handling error and damage. We offer handlers for:
- Wafers (EFEM)
- Waffle trays
- Magazines
Easy programming
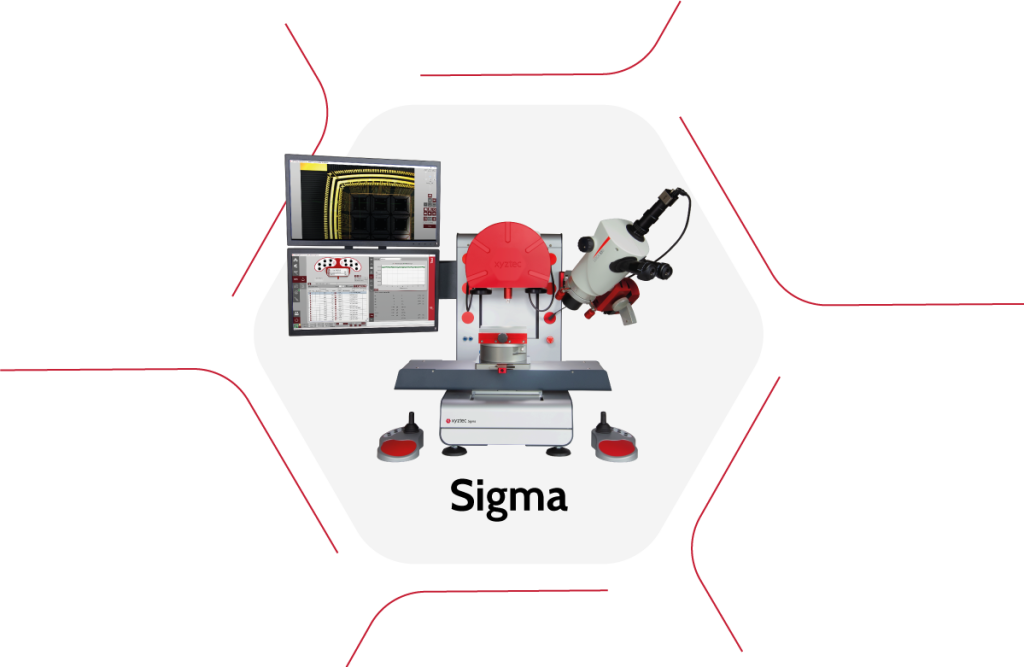
The open Sigma software enables easy programming of total automation steps, positions, and commands. The automation editor employs camera visualization and intelligent wizards.
Smart vision cameras
See the unseen with up to 3 live camera options. Bring out the features of interest with images or videos using high-resolution cameras, flexible LED illumination, and fantastic image processing options.
Tool alignment
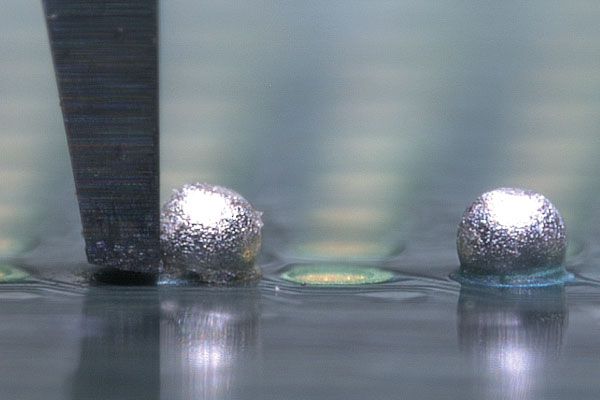
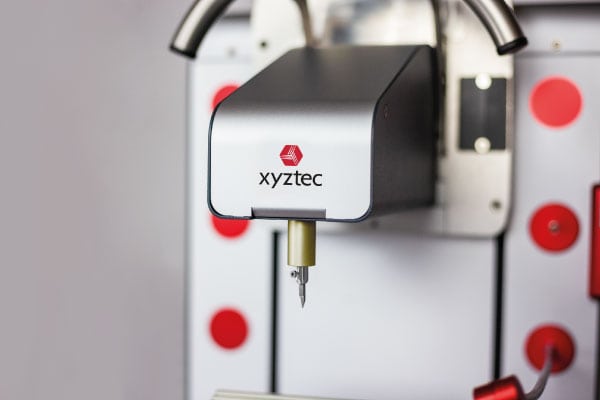
Precise tool alignment is essential to test the correct bonds correctly. We offer several solutions for perfect alignment:
- Self-aligning shear tool
- Deep access
- Revolving Measurement Unit
- Concentricity correction
Fiducial recognition
Define recognizable shapes, patterns, or marks as a global or local reference for positioning and automatic tool alignment.
Wire dection
Recognition of components and fine pitch wires that are swept out of position due to process tolerances or part handling.
Grading run
A Sigma offers 2 alternatives to make grading more efficient and consistent:
- The operator does all the gradings in one step after a sequence of tests, using the microscope or an offset camera.
- A Sigma can take it one step further and make automatic determinations of the failure modes (auto grading).
Auto grading
Automatically grade the failure modes of the test result images with grading assistance. Optical inspection calculates the area of bulk material remaining as a percentage of the whole.
Image measurement (AOI)
Detailed optical inspection helps you to perform image measurements or to identify the failure modes of the captured test results. For more advanced image processing, filtering, segmentation, and detection of shapes, you can use Automated Optical Inspection (AOI).
Data export
Improve data processing using automatic export and SECS/GEM for tracking and control.
